How to bulk import users
To create a user, you need a valid email address and first/last name for the user you would like to add. When a user is created, they will receive an email inviting them to join Huddle Monkey at your request. Upon accepting the invitation, they are now part of your organization.
Users can be added one at a time manually or bulk imported using a comma delimited file containing the emails and names to create. The number of users your organization is allowed to create is determined by your plan. The owner of the organization account can increase your plan at any time to accommodate additional users.
Huddle Monkey provides the option to create temporary users by setting a date on the user account when it will be automatically deleted. This may be useful if you have a one time event where you need to train or communicate with volunteers but will no longer need the users to have access to Huddle Monkey once the event is done.
Users can be imported using a comma delimited file (CSV). This will allow you to generate a list of users and import them at once instead of having to add each of them individually. CSV files can be generated by hand or from a spreadsheet application, such as Microsoft Excel. The CSV file must follow the format of LastName,FirstName,Email,AutoDeleteOn. The table below outlines each of the columns.
| Column | Required | Description |
|---|---|---|
| LastName | Yes | Last name of the user. |
| FirstName | Yes | First name of the user. |
| Yes | Email address of the user. Must be unique throughout Huddle Monkey. | |
| AutoDeleteOn | No | If this is a temporary user, you can use this field to set a date when the user will be automatically deleted.. |
Here is an example CSV file for importing 4 users. The third user will be automatically deleted on June 20, 2024.
In the left hand side menu, click Users.

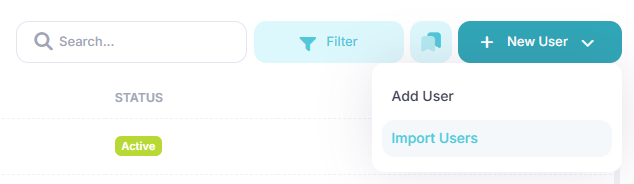
At the Users page, click the New User button, and then select Import Users from the menu.
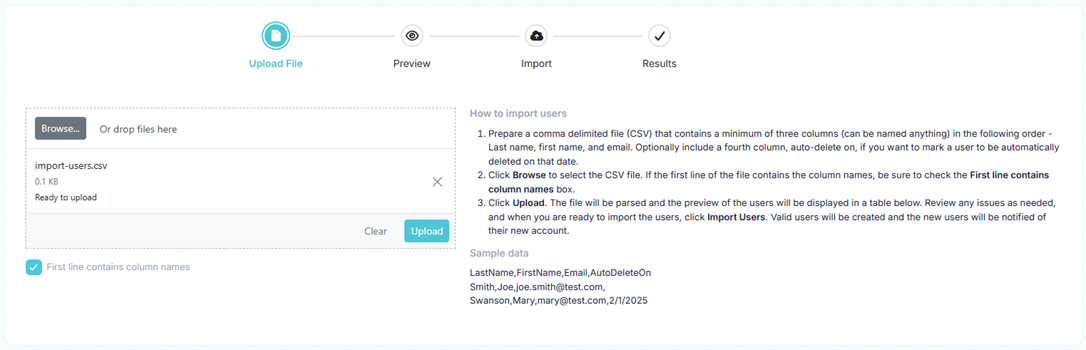
At the Import Users page, click the Browse button and select the CSV file containing the users you would like to import or drag and drop the file into the drop area. If the first line of the CSV file contains column headers, such as LastName,FirstName,Email,AutoDeleteOn, check the First line contains column names box. Click the Upload button to start the process.
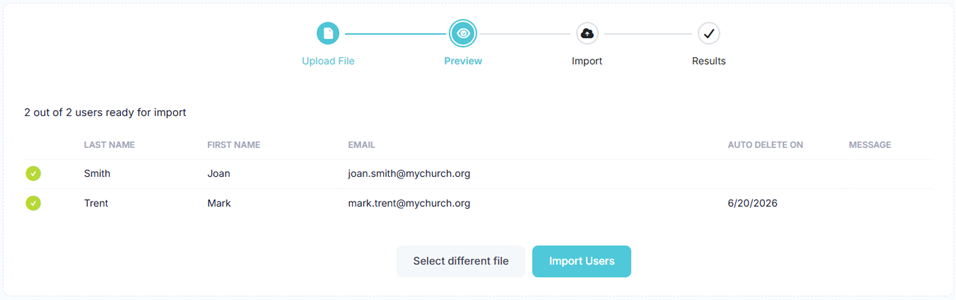
The file will be parsed and a preview of the import is displayed in a table. If you need to make any adjustments, correct the CSV file and click the Select different file button to select the updated file. If all of the data looks good, click the Import Users button to import the users. During the import process, the progress bar will show the status of the import.
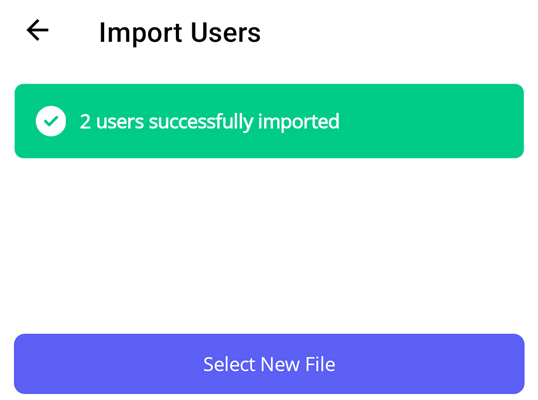
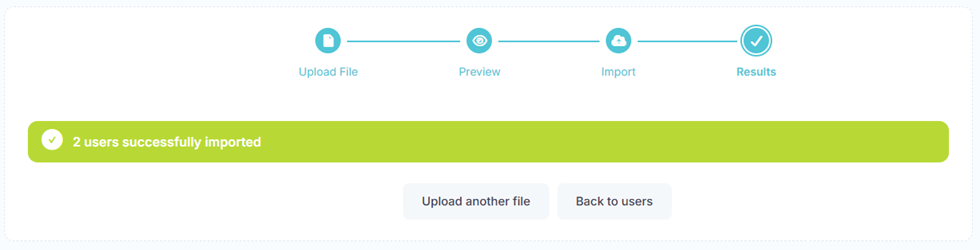
Upon completion, the results of the import are displayed. If any user failed to import, they are listed in a table with the reason for the failure.
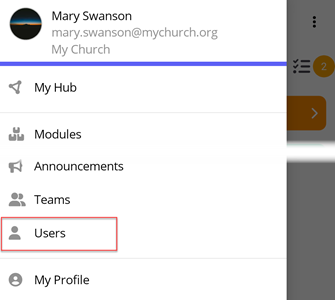
In the toolbar/navigation bar, select the menu icon.

At the flyout, select Users.
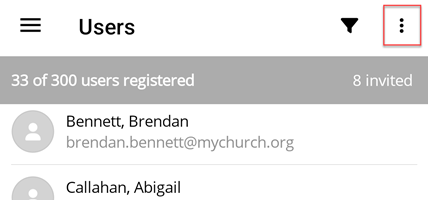
At the Users screen, select the ellipse icon.
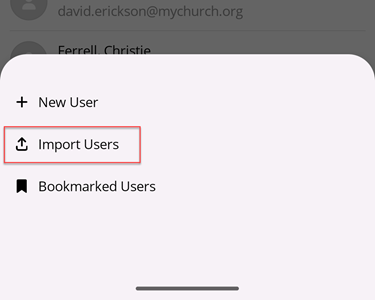
At the flyout, select Import Users.
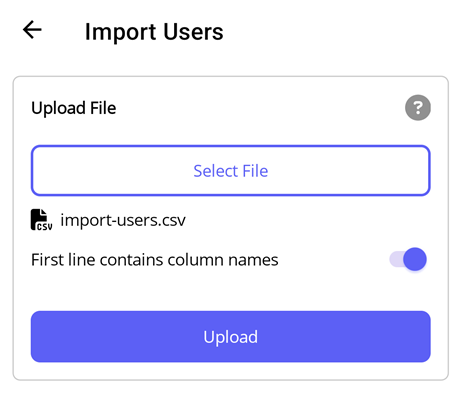
At the Import Users screen, select the Select File button and select the CSV file containing the users you would like to import. If the first line of the CSV file contains column headers, such as LastName,FirstName,Email,AutoDeleteOn, toggle the First line contains column names option. Select the Upload button to start the process.
The file will be parsed and a preview of the import is displayed in a table. If you need to make any adjustments, correct the CSV file and select the New File button to select the updated file. If all of the data looks good, click the Import Users button to import the users. During the import process, the progress bar will show the status of the import.
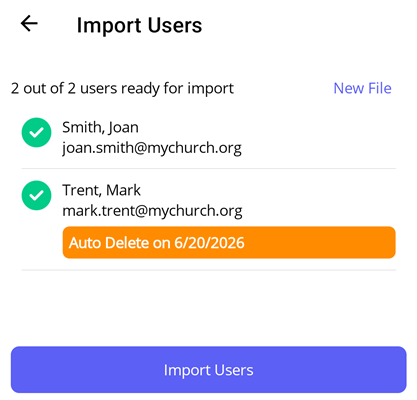
Upon completion, the results of the import are displayed. If any user failed to import, they are listed in a table with the reason for the failure.