How do I add bulk import users?
This article will walk you through how to bulk import users into your organization using a comma delimited file (CSV). This will allow you to generate a list of users and import them at once instead of having to add each of them individually. CSV files can be generated by hand or from a spreadsheet application, such as Microsoft Excel. The CSV file must follow the format of LastName,FirstName,Email,AutoDeleteOn.The table below outlines each of the columns.
| Column | Required | Description |
|---|---|---|
| LastName | Yes | Last name of the user. |
| FirstName | Yes | First name of the user. |
| Yes | Email address of the user. Must be unique throughout the application. | |
| AutoDeleteOn | No | If this is a temporary user, you can use this field to set a date when the user will be automatically deleted. |
Here is an example CSV file for importing 4 users. The third user will be automatcially deleted on June 20, 2024.
LastName,FirstName,Email,AutoDeleteOn
Malone,Sandy,sandy.malone@mychurch.org,
Wells,Ellen,ellen.wells@mychurch.org,
Pineda,Josh,josh.pineda@mychurch.org,6/20/2024
Chen,Garry,garry.chen@mychurch.org,
You must be the owner, an admin, or a team leader to add users.
-
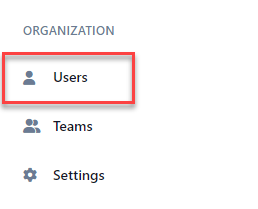
Under the Organization heading in the left hand side menu, click Users.
-
Click the Import button.

-
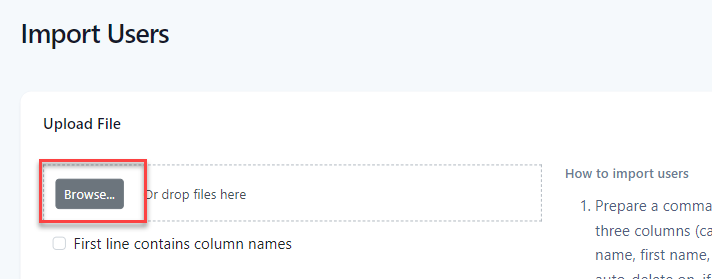
At the Import Users page, click the Browse button and select the CSV file containing the users you would like to import.
-
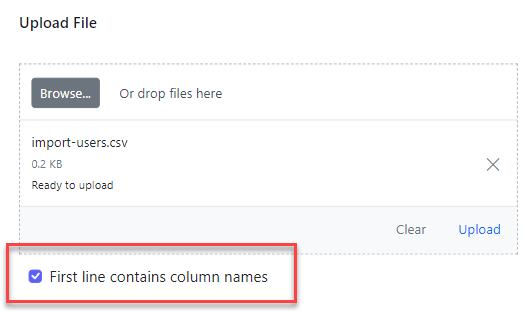
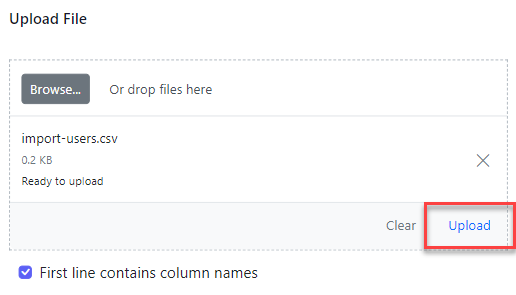
If the first line of the CSV file contains column headers, such as LastName,FirstName,Email,AutoDeleteOn, check the First line contains column names box.
-
Click the Upload button to start the process.
-
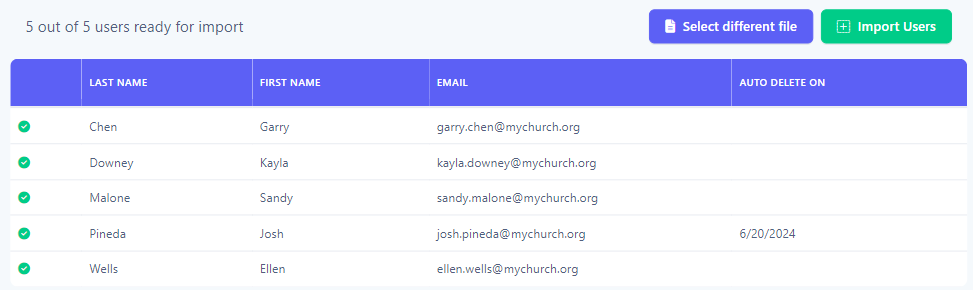
The file will be parsed and a preview of the import is displayed in a table. If you need to make any adjustments, correct the CSV file and click the Select different file button to select the updated file. If all of the data looks good, click the Import Users button to import the users.
-
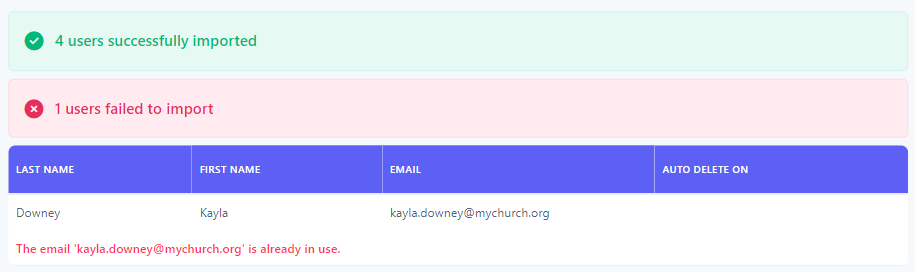
Upon completion, the results of the import are displayed. If any user failed to import, they are listed in a table with the reason for the failure.
-
In the application bar, select the hamburger menu.

-
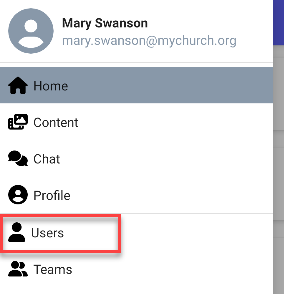
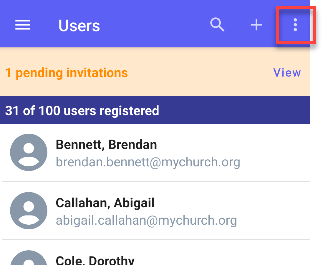
At the flyout screen, select Users.
-
At the users page, select the options icon.
-
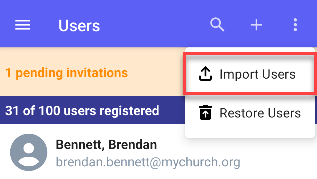
At the dropdown, select Import Users.
-
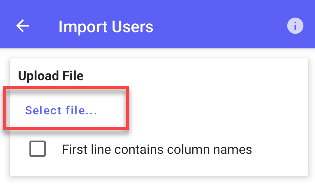
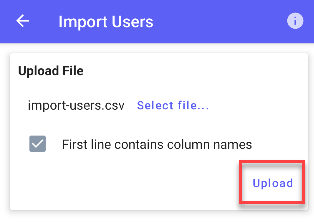
At the Import Users screen, select the Select file... button and select the CSV file containing the users you would like to import.
-
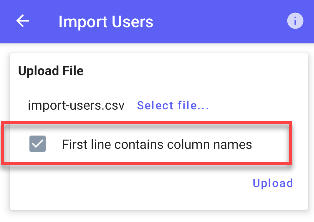
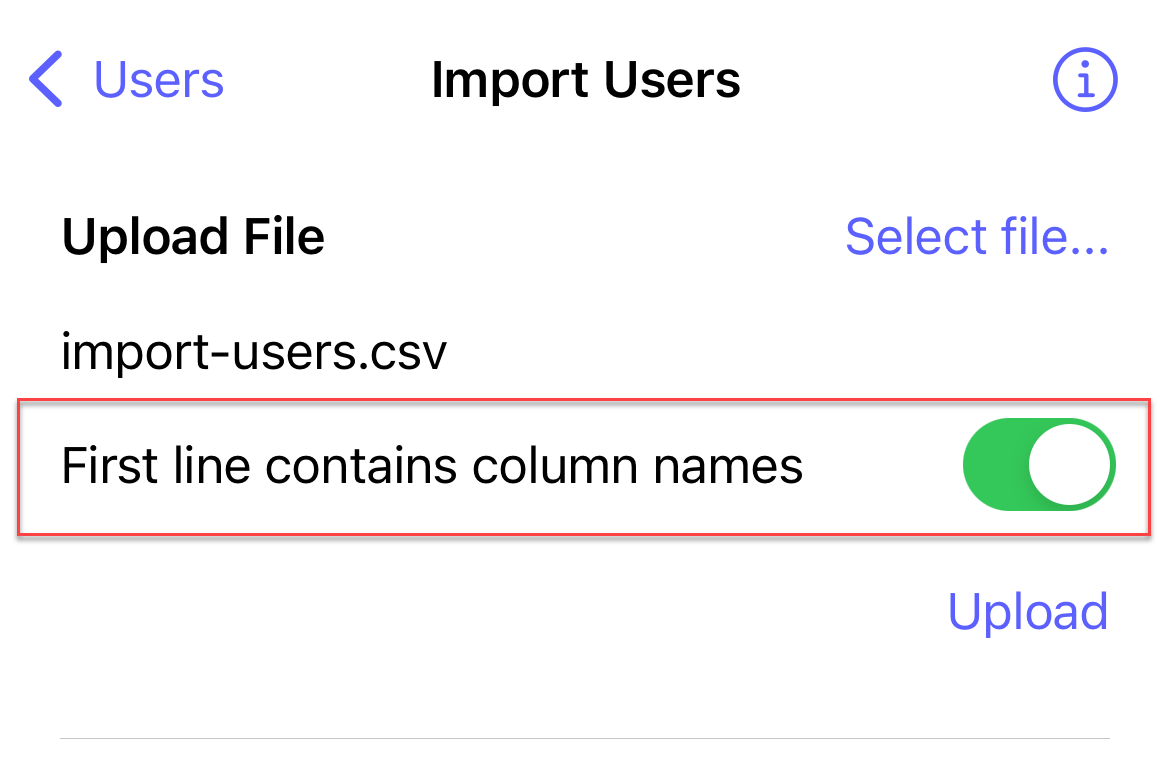
If the first line of the CSV file contains column headers, such as LastName,FirstName,Email,AutoDeleteOn, check the First line contains column names box.
-
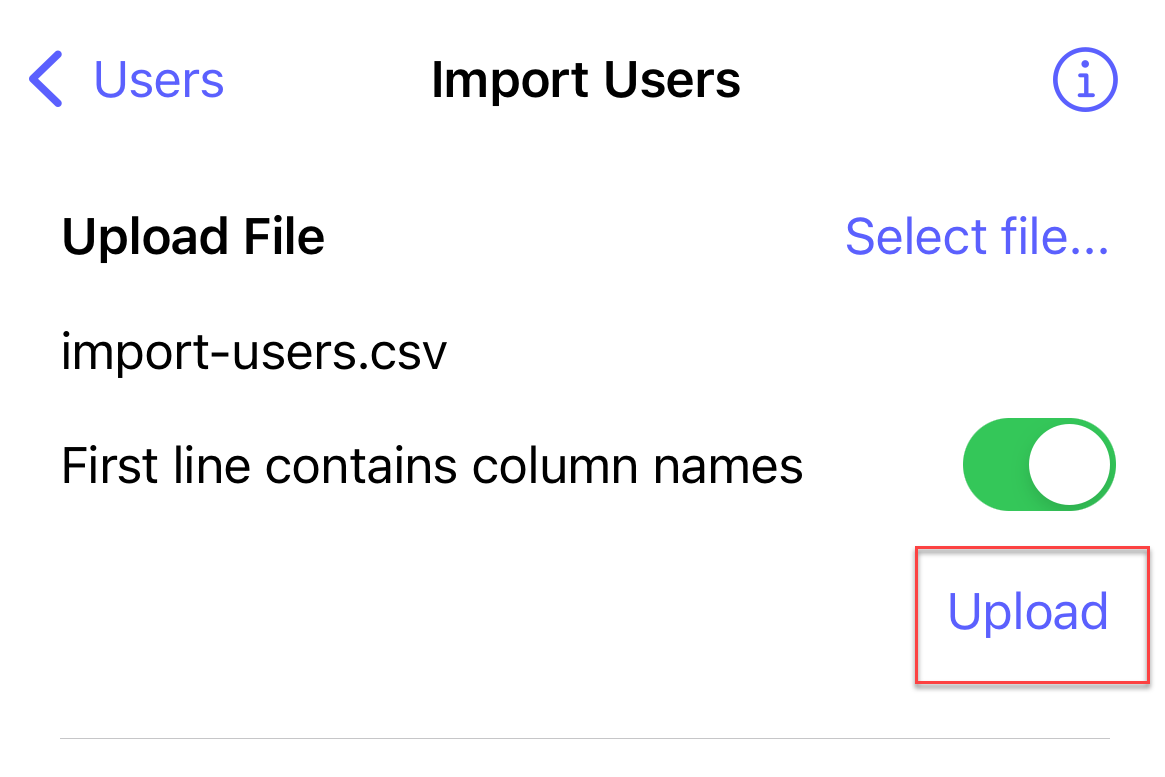
Select the Upload button to start the process.
-
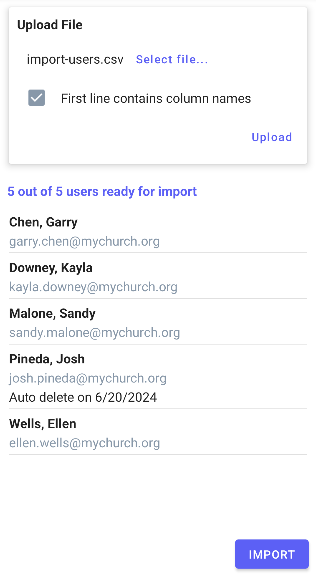
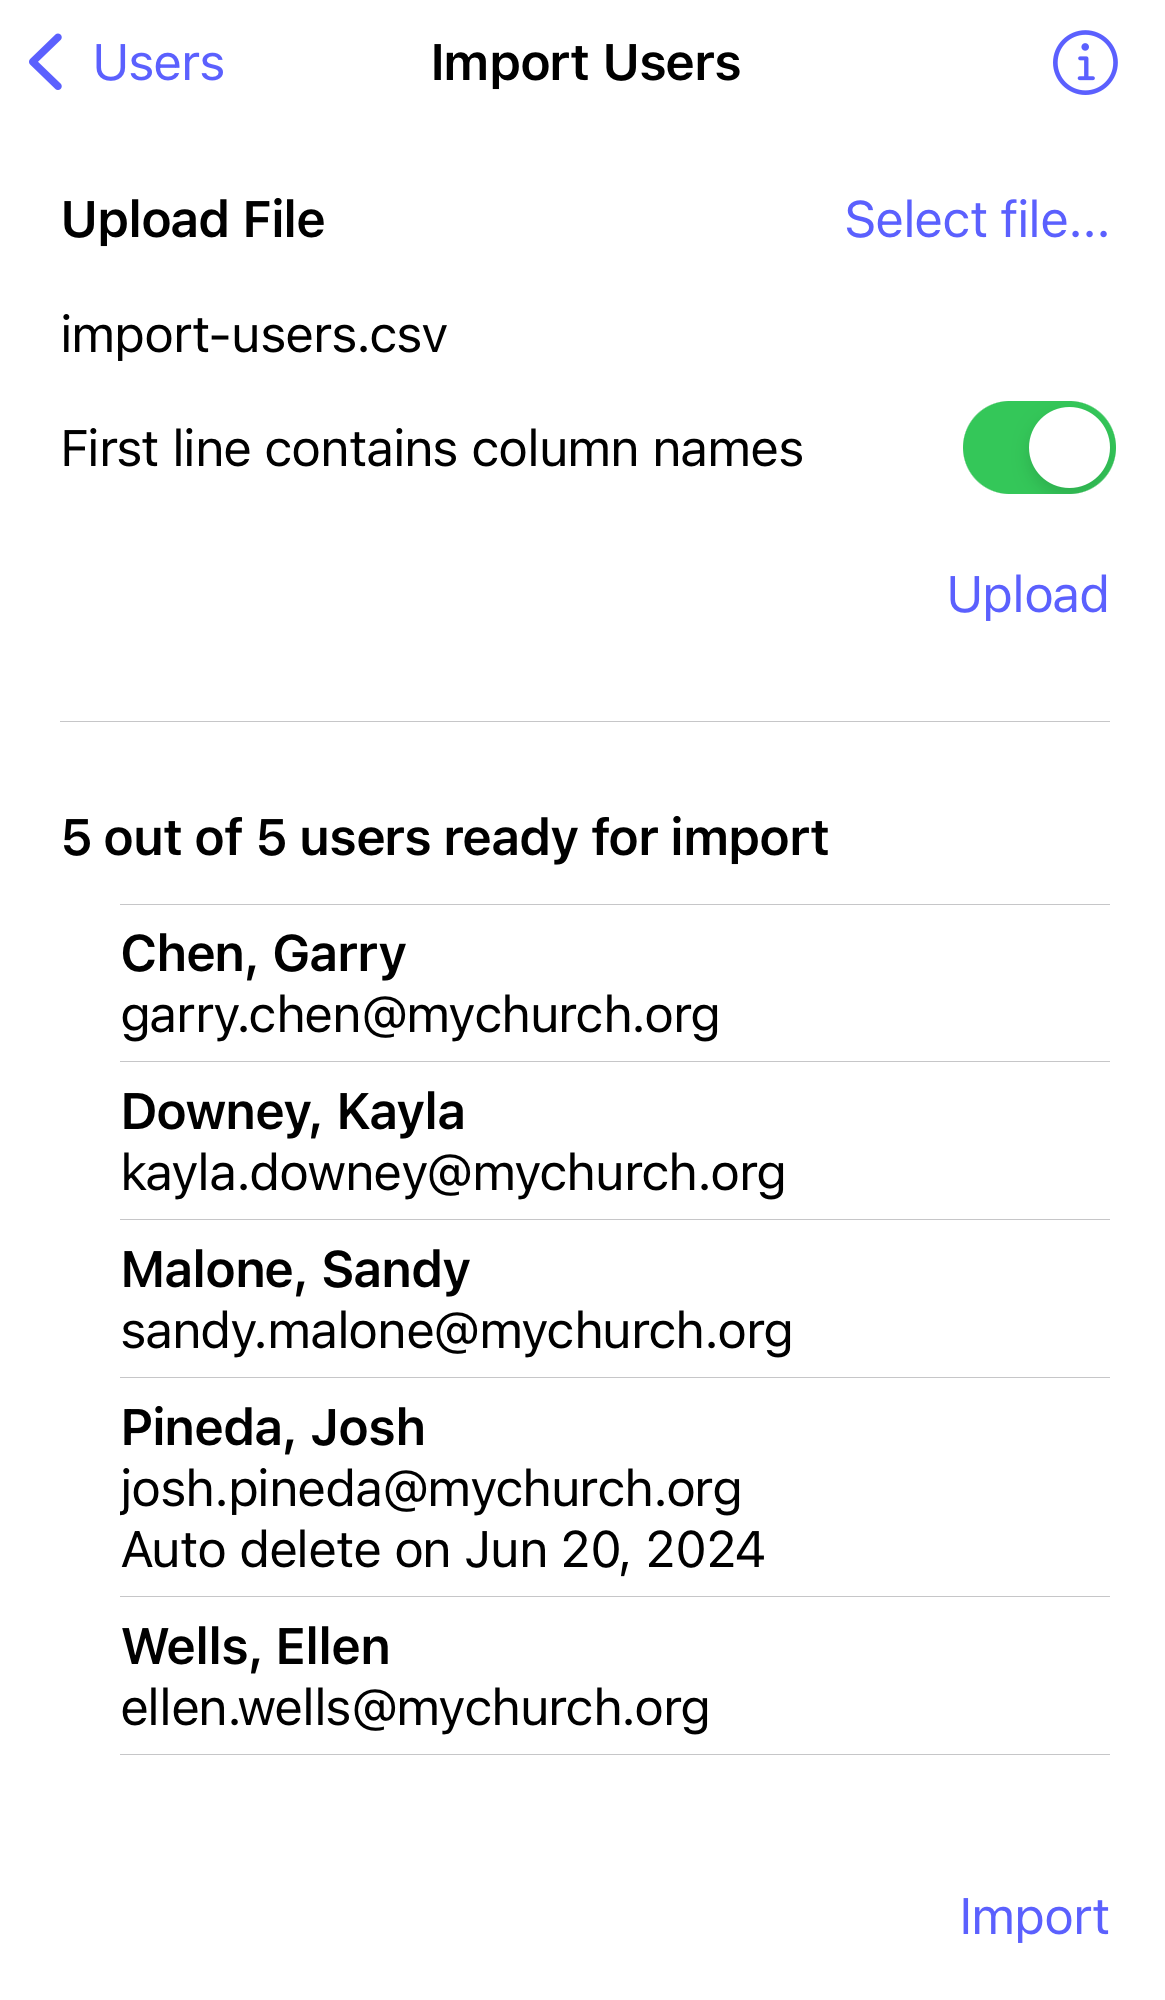
The file will be parsed and a preview of the import is displayed in a list. If you need to make any adjustments, correct the CSV file and upload the new file. If all of the data looks good, select the Import button to import the users.
-
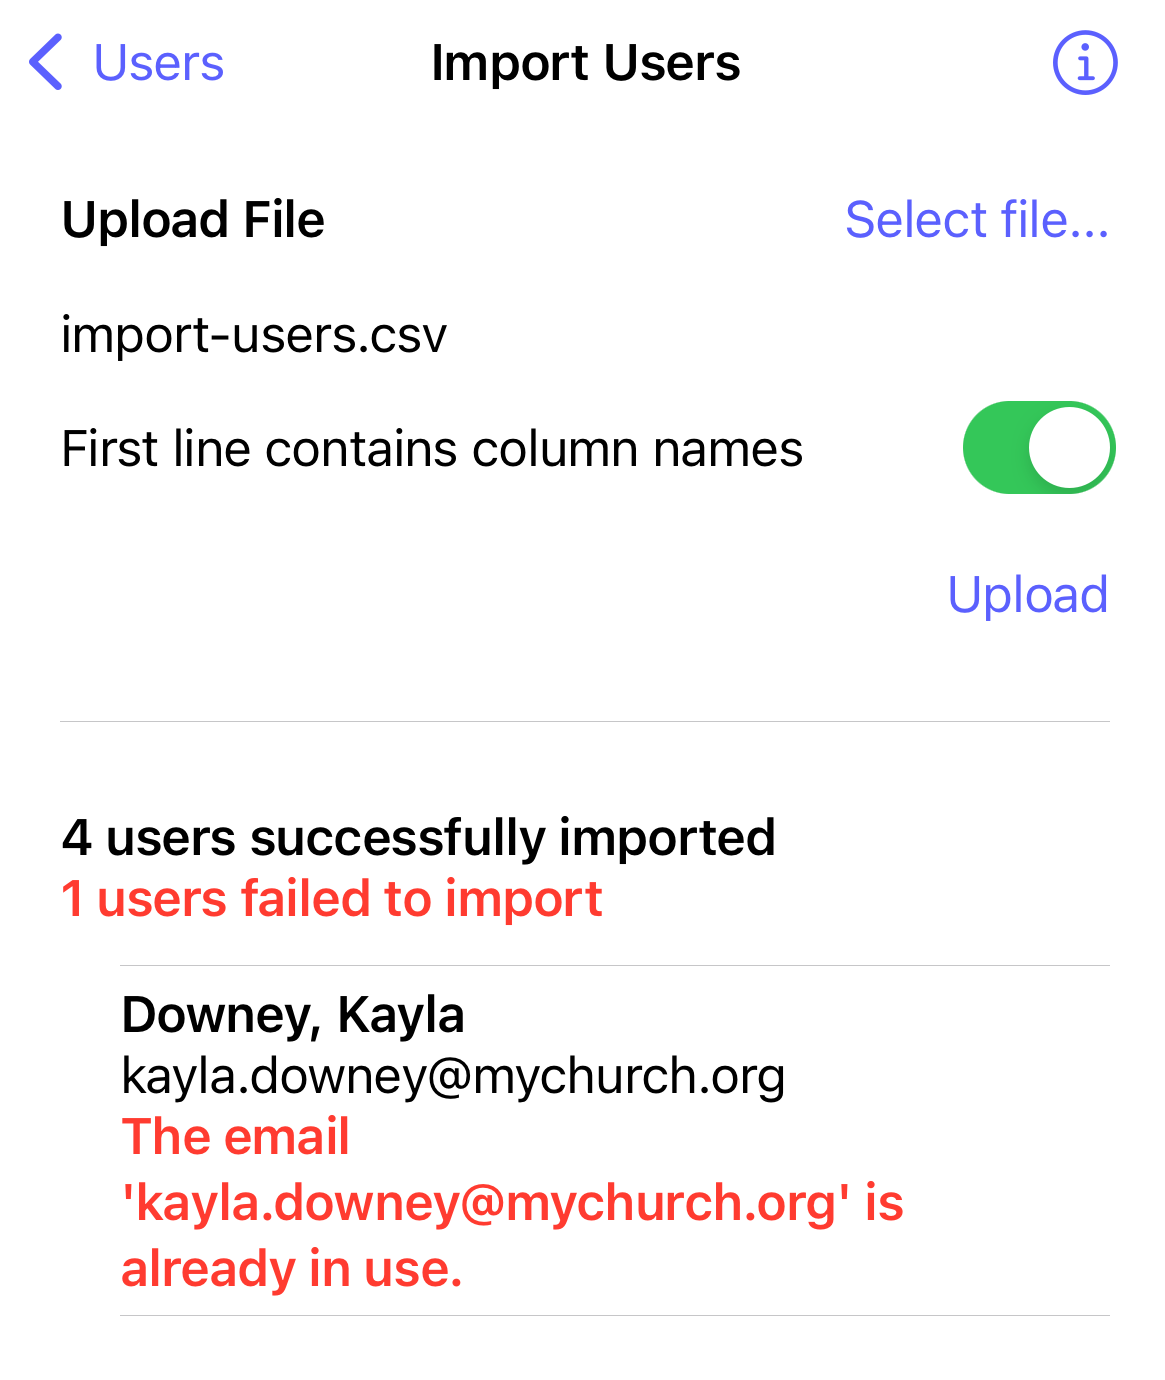
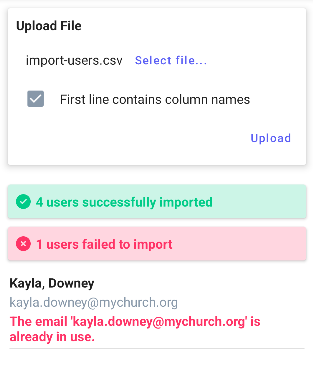
Upon completion, the results of the import are displayed. If any user failed to import, they are listed in a list with the reason for the failure.
-
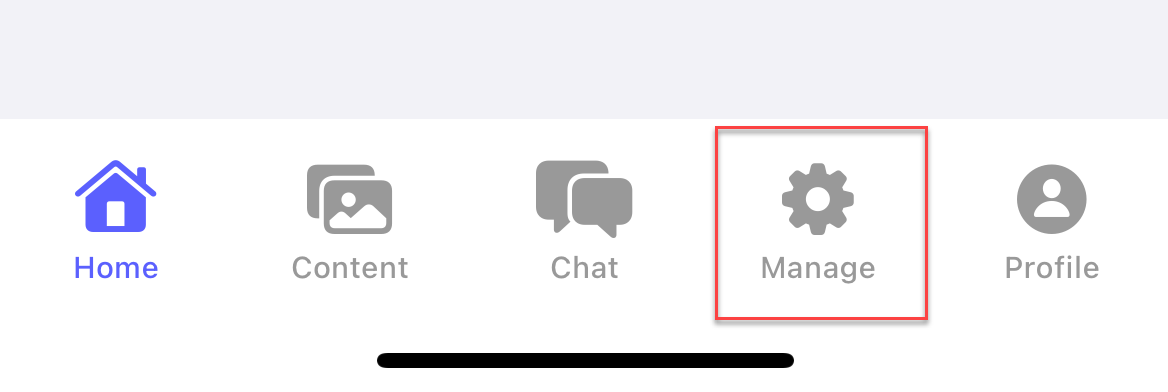
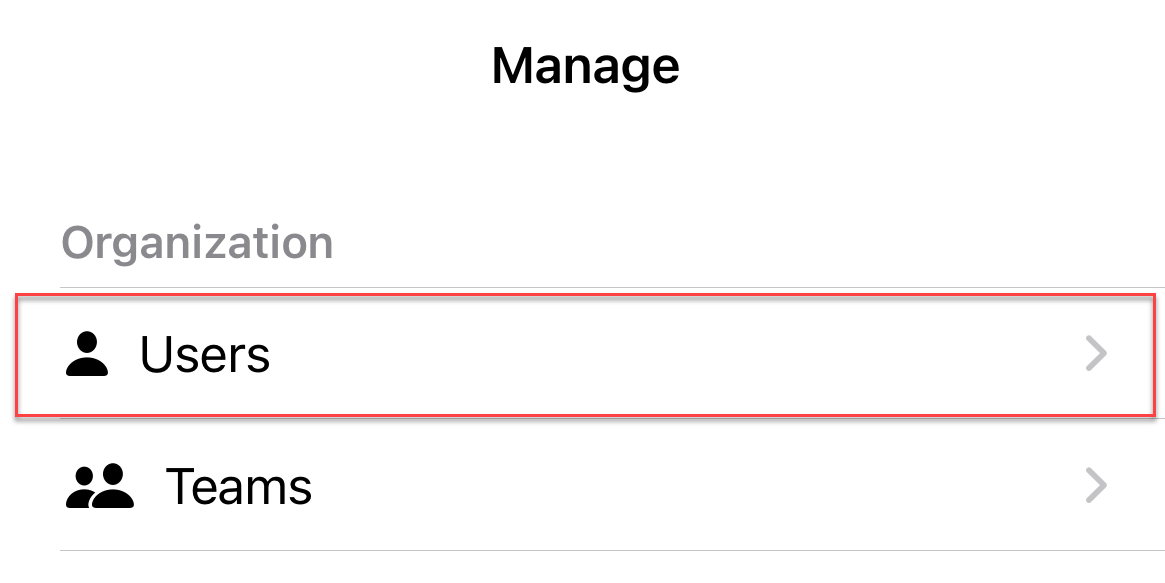
In the navigation bar, select the Manage button.
-
At the manage screen, select Users.
-
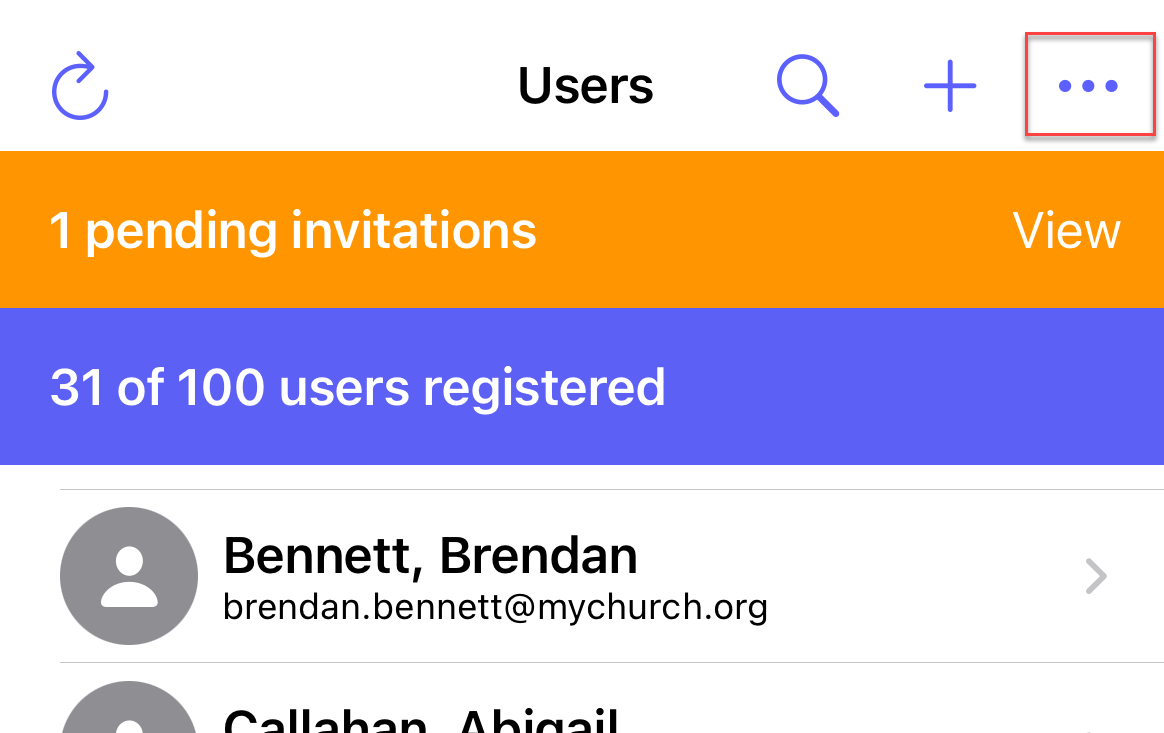
At the users page, select the options icon.
-
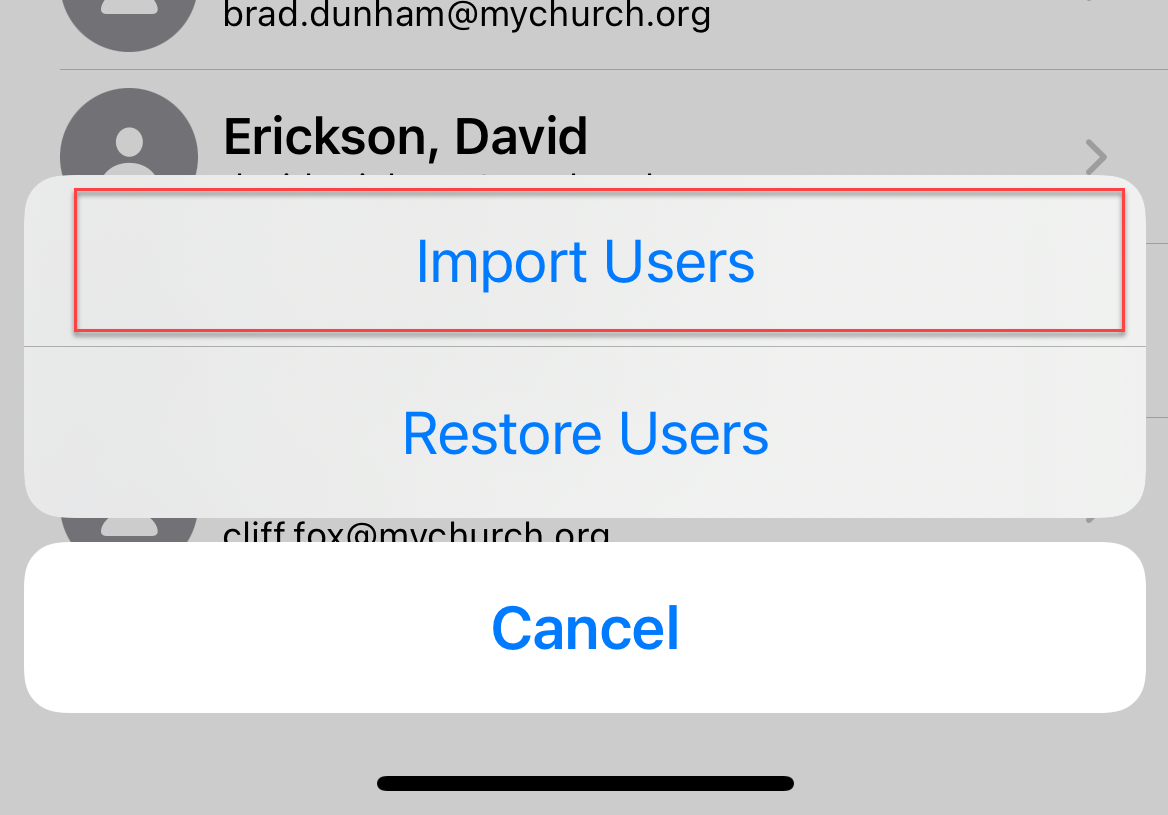
At the popup, select Import Users.
-
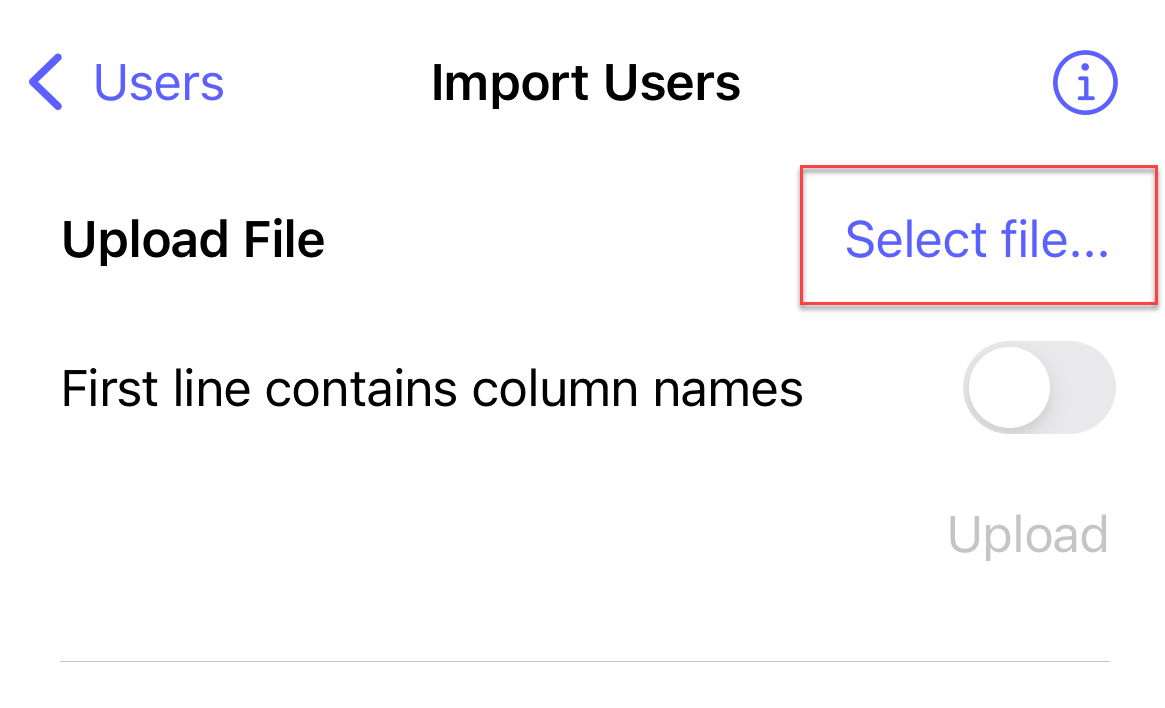
At the Import Users screen, select the Select file... button and select the CSV file containing the users you would like to import.
-
If the first line of the CSV file contains column headers, such as LastName,FirstName,Email,AutoDeleteOn, check the First line contains column names box.
-
Select the Upload button to start the process.
-
The file will be parsed and a preview of the import is displayed in a list. If you need to make any adjustments, correct the CSV file and upload the new file. If all of the data looks good, select the Import button to import the users.
-
Upon completion, the results of the import are displayed. If any user failed to import, they are listed in a list with the reason for the failure.