How do I use folders to organize modules?
This article will walk you through how to use folders to organize modules.
You must be the owner, an admin, or a team leader to view the module library.
-
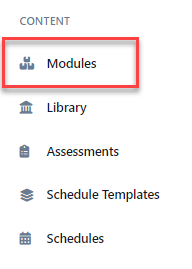
Under the Content heading in the left hand side menu, click Modules.
-
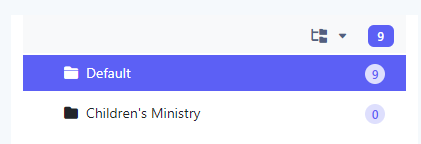
All modules in the Default folder are displayed.

-
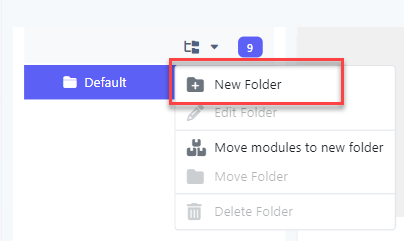
Adding a New FolderTo add a new folder, click the folder icon in the toolbar and select New Folder.
-
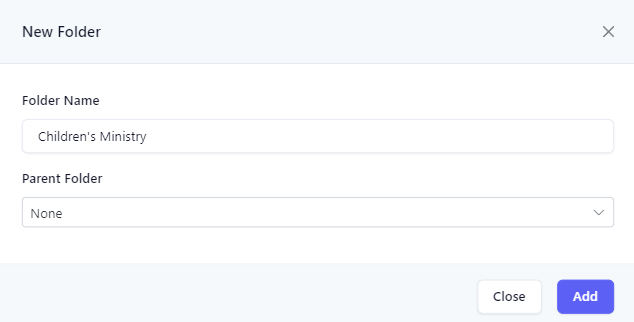
At the New Folder popup, enter a name for the folder. You can also select the parent folder to create a folder structure hierarchy. Click Add to create the new folder.
-
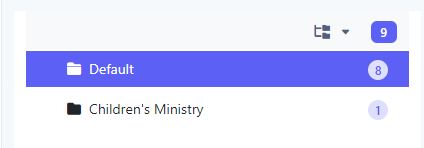
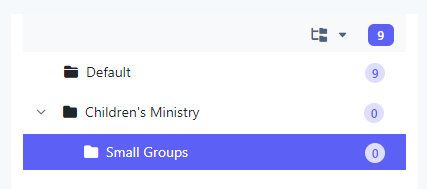
Upon success, the new folder is added to the folder tree.
-
Editing a Folder NameTo edit a folder name, select the folder you would like to edit. You cannot edit the Default folder.
-
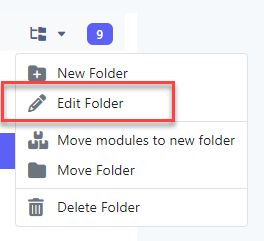
Click the folder icon in the toolbar and select Edit Folder.
-
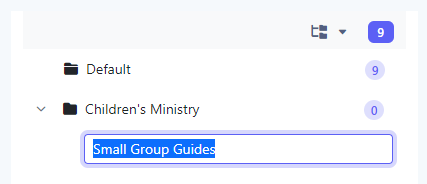
The name of the folder changes to edit mode. Update the name as desired and press return.
-
Upon success, the folder is updated in the folder tree.
-
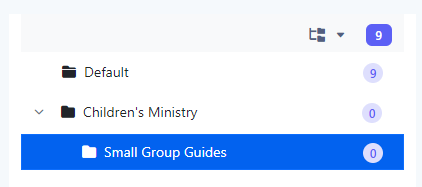
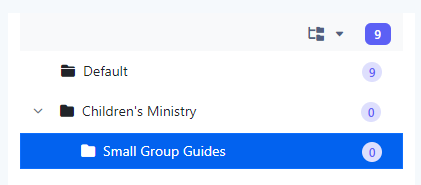
Moving a FolderSelect the folder you would like to move. You cannot move the Default folder.
-
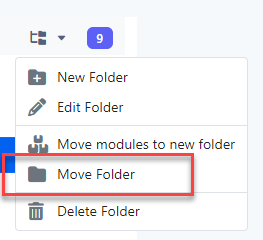
Click the folder icon in the toolbar and select Move Folder.
-
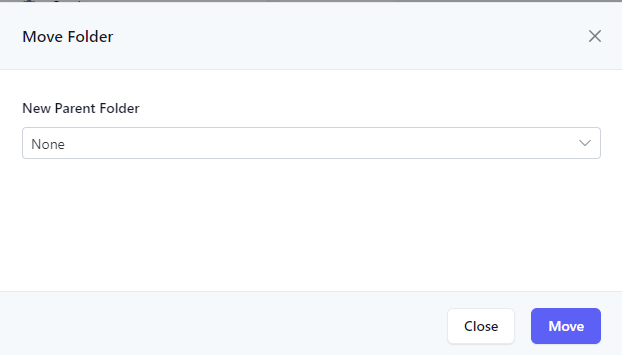
At the Move Folder popup, select the new parent for the folder and click Move. In the example below, the folder is being moved from Children's Ministry to None, which means the folder will be at the root of the hierarchy.
-
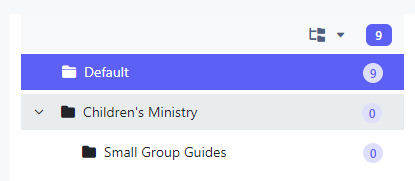
Upon success, the folder is moved in the folder tree.
-
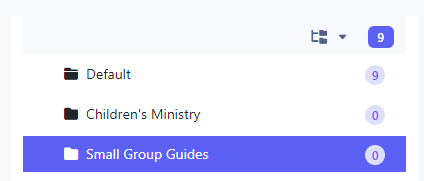
Moving Modules to a New FolderSelect the folder you would like to move the modules from. In this example, we will move some modules out of the Default folder, which currently has 9 modules.
-
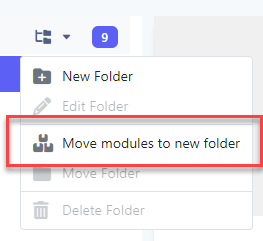
Click the folder icon in the toolbar and select Move Folder.
-
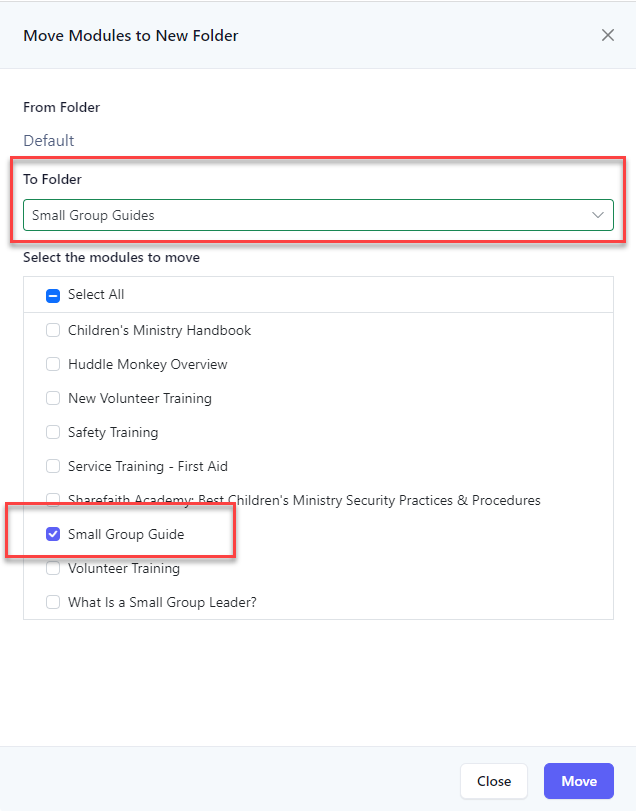
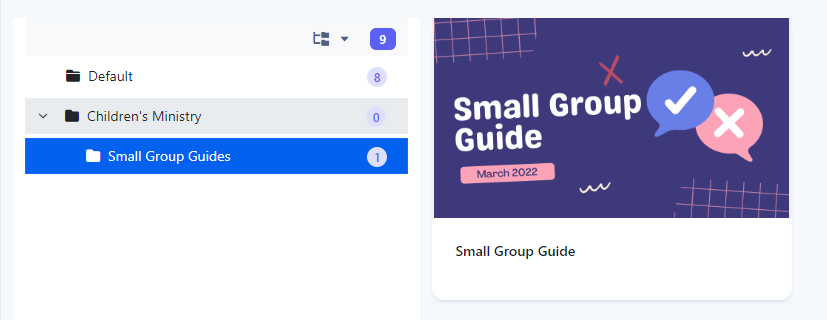
At the Move Modules to New Folder popup, select the folder to move the modules to and select one or more modules to move. Click Move. In the example below, we are moving one module to the Small Group Guides folder.
-
Upon success, the modules are moved to the new folder.
-
Deleting a FolderSelect the folder you would like to delete. You cannot delete the Default folder.

-
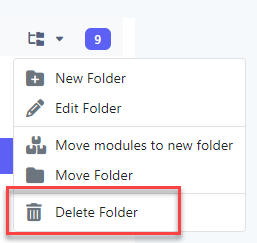
Click the folder icon in the toolbar and select Delete Folder.
-
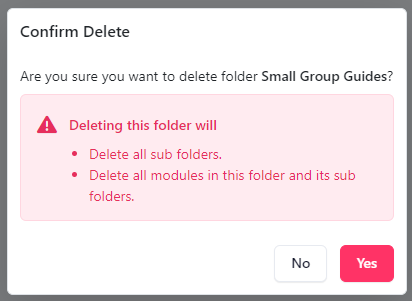
At the Confirm Delete dialog box, click Yes.Deleting a folder will also delete all sub folders and any modules in the folder and sub folders. If you do not want to delete the modules, you will need to move them to another folder first.
-
Upon success, the folder is removed.