How do I edit the dates of an existing schedule?
This article will walk you through how to edit the dates of an existing schedule, adjust the dates for the components, and remove a component from the schedule for a module.
You must be the owner, an admin, or a team leader to edit schedules.
-
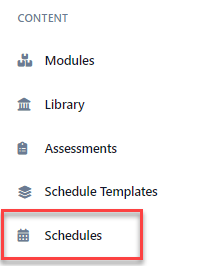
Under the Content heading in the left hand side menu, click Schedules.
-
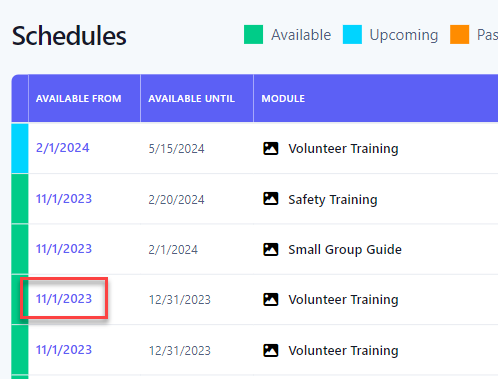
Find the schedule you want to edit in either the list or the calendar view. From the list view, click the link under the Available Until column. If you are in the calendar view, double click the agenda item in the calendar. If you need help finding the desired schedule, you can search or filter to narrow the results.
-
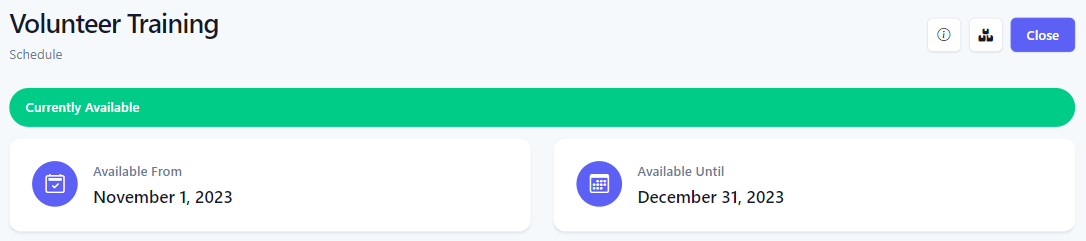
At the top of the schedule, you will see the current dates the schedule is available, as well as an indicator panel if the schedule is currently available, is in the past, or will be made available in the future.
-
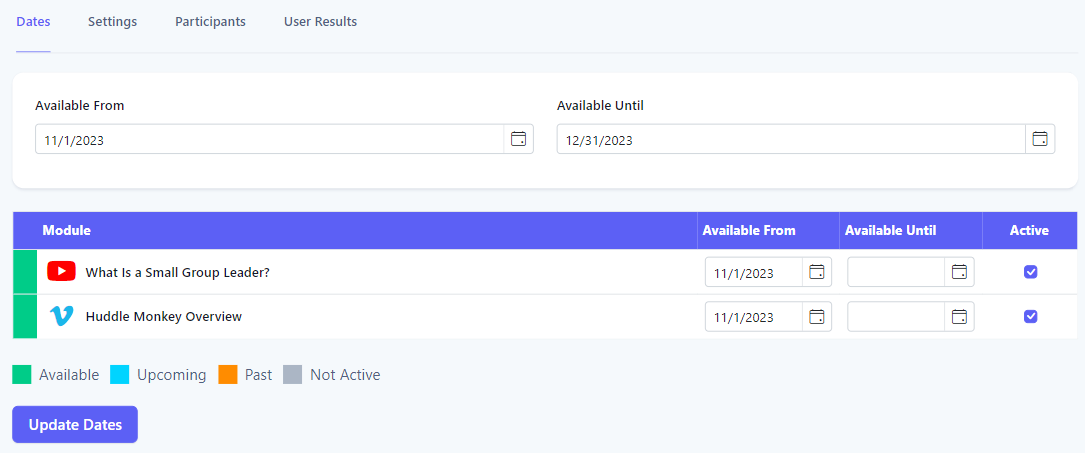
The Dates tab allows you to edit both the overall schedule dates as well as adjust any individual component dates as necessary. You can even set a component as inactive to exclude it from the schedule.
-
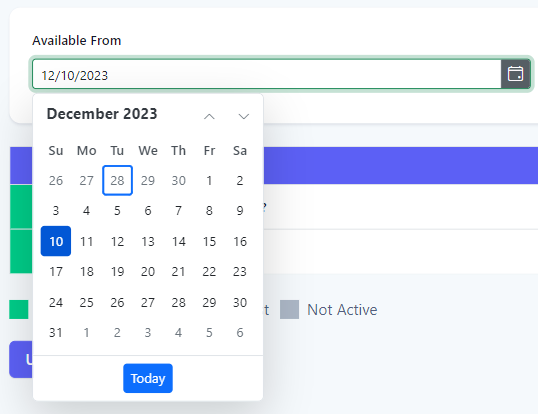
Updating the Schedule's DatesTo adjust the dates of the schedule, select new dates using the Available From and Available Until text boxes.
-
Click Update Dates. Upon success, the schedule's dates will be updated. If needed, the individual component dates will be adjusted to accommodate the new schedule dates.
-
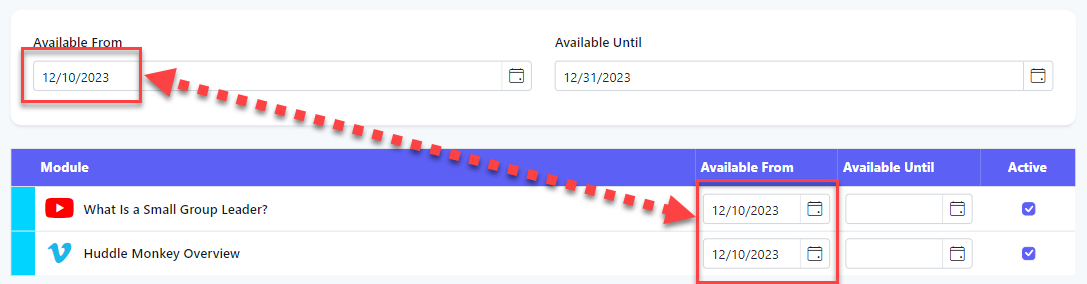
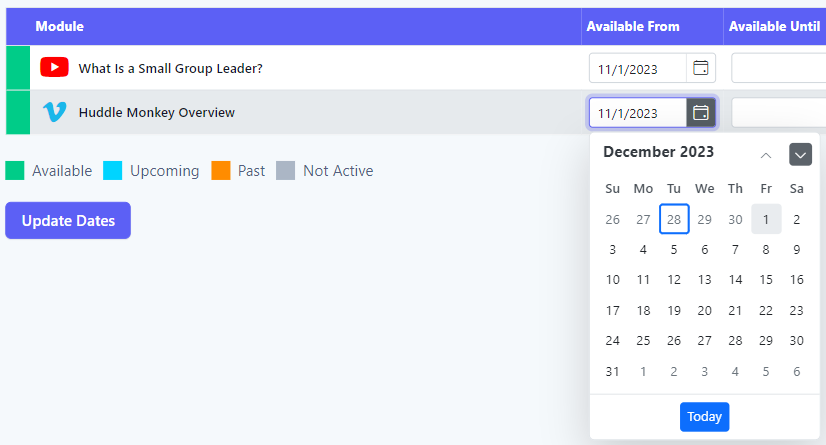
Updating a Component's DatesTo adjust the dates of an individual component, select new dates using the Available From and Available Until text boxes in the table.
-
Click Update Dates. Upon success, the component's dates will be updated. If needed, the schedule's dates will be adjusted to accommodate the new dates.

-
Removing a Component from the ScheduleTo remove an individual component from the schedule, uncheck the class="font-bold">Active checkbox in the table.

-
Click Update Dates. Upon success, the component will grayed out. You can add the component back to the schedule at any time by selecting the checkbox again.
