Viewing Users
You can view all users in your organization directly from the Users page. You can see all users, regardless of whether they are on any of your teams or not. This will allow you to see what users already exist and to add existing users to your team.
Under the Organization heading in the left hand side menu, click Users.
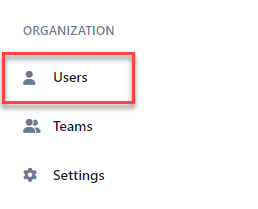
You will see a list of all users in your organization.

In the navigation bar, select More.

Select Users.
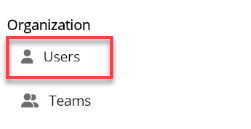
You will see a list of all users in your organization.
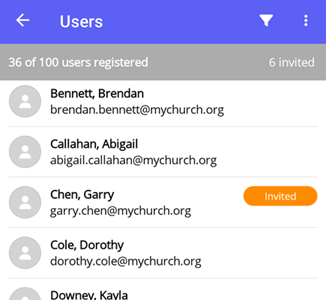
In the navigation bar, select More.

Select Users.
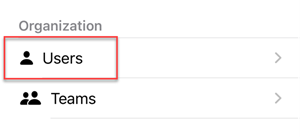
You will see a list of all users in your organization.
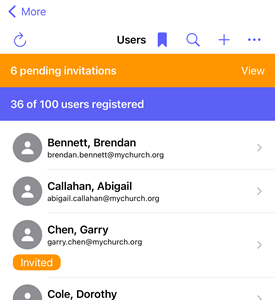
Searching Users
You can further refine the list of users by searching for users based on the desired search criteria. Using the filter panel, you can select one or more search criteria. The table below describes the different types of search criteria.
| Search Criteria | Description |
|---|---|
| First name | Search for users whose first name contains the text entered in the field. |
| Last name | Search for users whose last name contains the text entered in the field. |
| Search for users whose email contains the text entered in the field. | |
| Status |
Search for users with the selected status.
Any - Filter is not set and will search for users regardless of their status
Active - Search for users that have accepted the invitation and are active
Invited - Search for users who have not yet accepted the invitation
|
| Set to auto delete | Toggle this field to search for users that have been set to auto delete. |
| Users on teams I lead | Toggle this field to search for users that are on teams that you lead. |
You can search using a simple search or using the filter panel for a more refined search. To perform a simple search, enter the desired search criteria into the Search box. This will dynamically update the list of users with those users whose first name, last name, email, or status contain the text entered in the search box.

For a more refined search, click the Filters button to reveal the filter panel.

In the Filter Users panel, select your search criteria and click the Filter button. Click the Clear button to clear all filters.
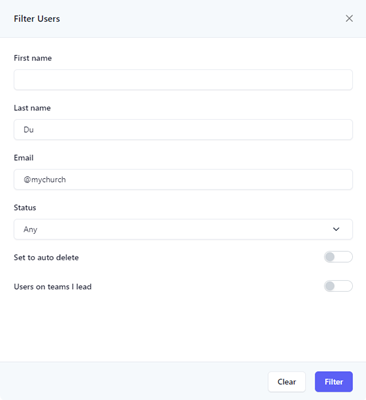
The results of the filter are then shown in the table. When a filter is set, the number of filters applied will appear next to the text in the Filters button.

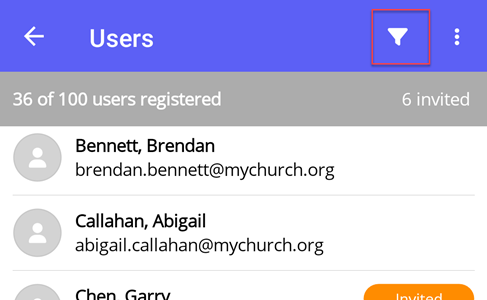
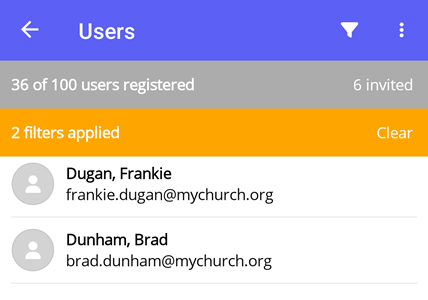
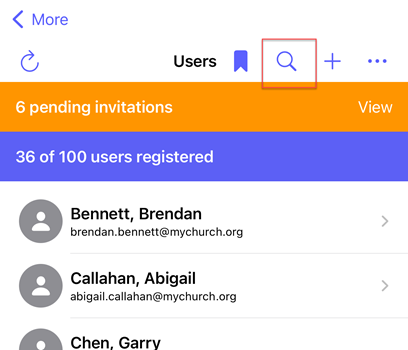
Select the Filter icon to reveal the filter panel.
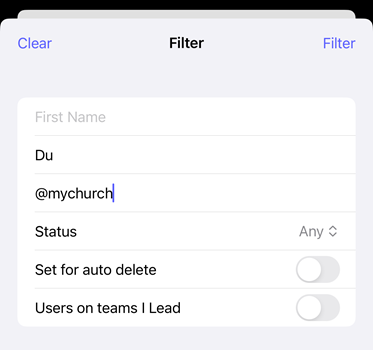
In the Filter Users panel, select your search criteria and click the Filter button. Click the Clear button to clear all filters.
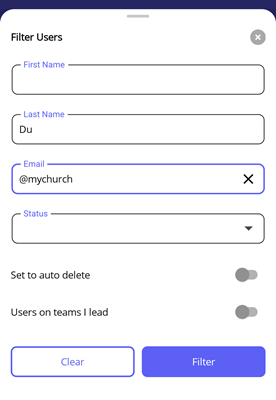
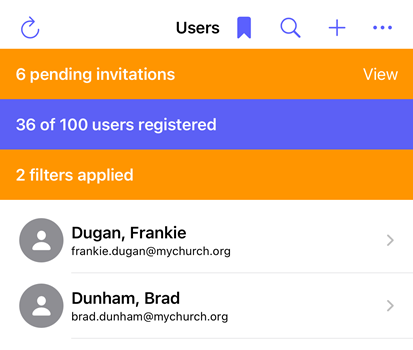
The results of the filter are then shown in the list. When a filter is set, an orange bar is displayed at the top indicating how many filters have been set. You can clear the filters from the bar by tapping the Clear link.
Select the Filter icon to reveal the filter panel.
In the Filter panel, select your search criteria and click the Filter button. Click the Clear button to clear all filters.
The results of the filter are then shown in the list. When a filter is set, an orange bar is displayed at the top indicating how many filters have been set.
Number of Users Remaining
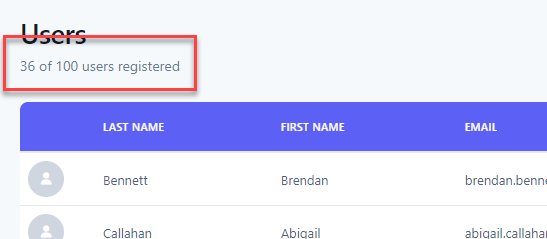
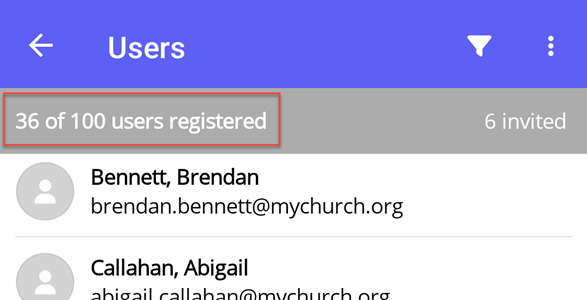
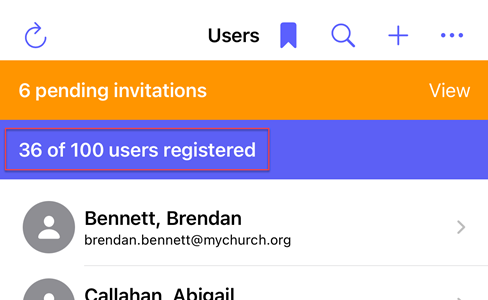
The type of plan your organization has will determine how many total users can be created. You can view how many users are currently registered out of the total number of users allowed by your current plan at the top of the users list.
Resending Welcome Email to Multiple Users
When a user is created, they are sent an email with an invitation to join Huddle Monkey under your organization. The window to accept the invitation before it expires is 5 days. If the user does not accept the invitation within that window, the invitation link becomes invalid and they are unable to join. When that happens, you can resend the invitation email to one or more users.
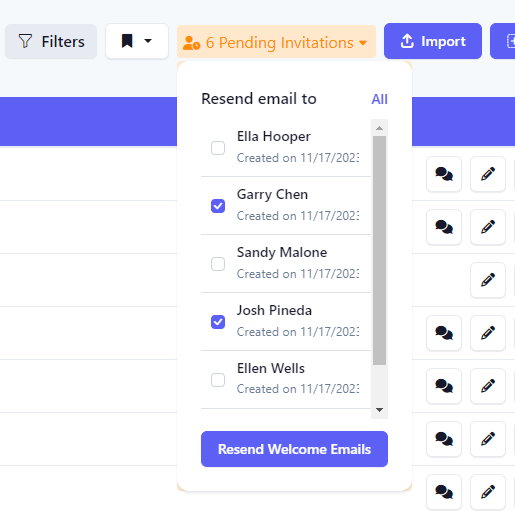
If any pending invitations are outstanding, you will see the Pending Invitations button in the toolbar. Click the Pending Invitations toolbar button, then select one or more users to resend the invitations to. Then click the Resend Welcome Emails button to send the invitations.
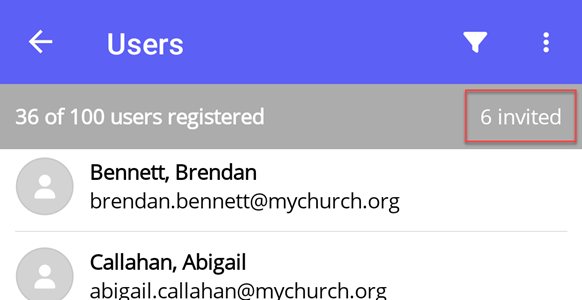
If any pending invitations are outstanding, you will see the Invited button in the status bar. Select the Invited button to reveal the Resend Email To panel.
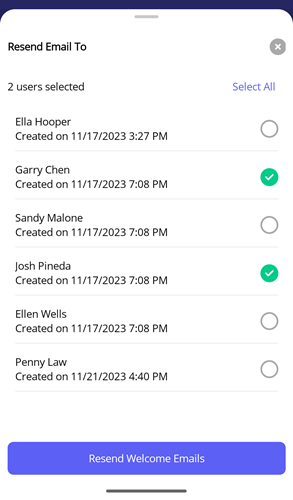
At the Resend Email To panel, select one or more users to resend the invitations to. Then select the Resend Welcome Emails button to send the invitations.
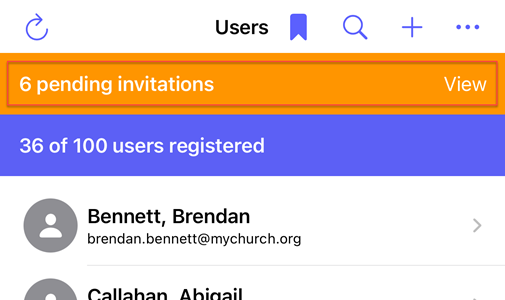
If any pending invitations are outstanding, you will see the Pending Invitations indicator in the status bar. Select the View button to reveal the Resend Welcome Emails panel.
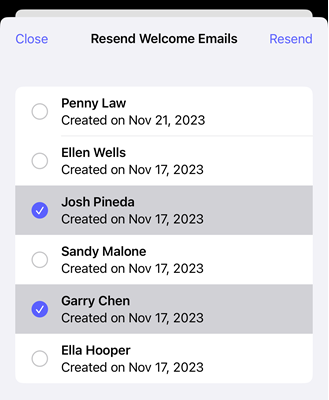
At the Resend Welcome Emails panel, select one or more users to resend the invitations to. Then select the Resend button to send the invitations.
You can also resend the welcome email to an individual user from the edit user page.
Send Message To User
Huddle Monkey allows you to send a message to a user without having to specifically create a conversation with that user or navigate to the conversations page to view the conversation. When you send a direct message to a user, if a conversation does not already exist between you and the specific individual, a new conversation will automatically be created for you.
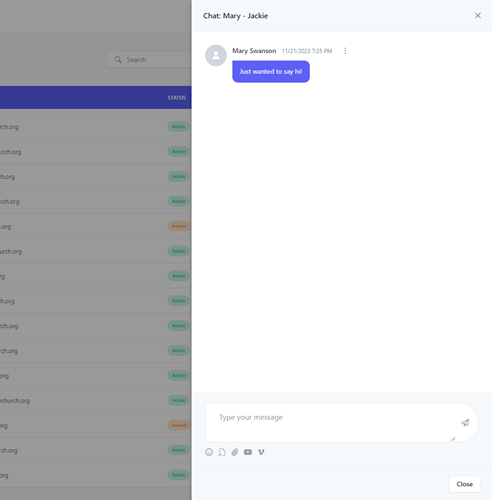
To initiate a conversation with a user, click the Message button for the desired user.

The conversation is created if needed and displayed in the flyout window, where you can then send a message to the user.
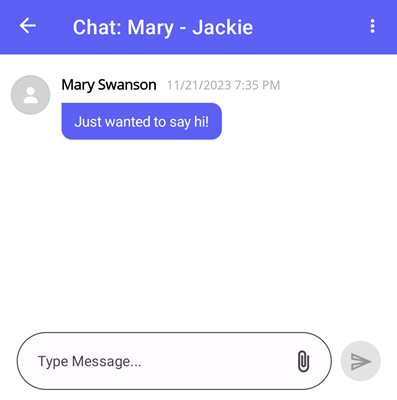
To initiate a conversation with a user, swipe left on the row for the desired user and select the Message button.

The conversation is created if needed and you are directed to the conversation page, where you can then send a message to the user.
You can also send a message to an individual user from the edit user page.